Wedding invitations are one of the hardest bridal details to photograph! Do ya feel me on this?! There are SO many pieces to lay out, different things you can incorporate, and it can easily become super overwhelming to style and photograph as a photographer.
Today I want to share FIVE things you should know for photographing wedding invitations beautifully, efficiently, and without feeling overwhelmed. Let’s gooooo:
1. Use a lens cap (or acrylic blocks, or you can even use candle lids) underneath the different pieces to make the different pieces of the invitation “pop.” This allows it to have more dimension and make your photo not seem as flat!
Below is an example of this!! On the left, the pieces do NOT have anything underneath them to make them pop. On the right, they DO have lens caps under them to make them pop. See the difference?

2. Ask your bride to mail you a copy of the invitation before the wedding. I ask all my brides to do this, then bring it along on the wedding day, just in case she forgets to include it with her details! That way, I’ve got her covered!
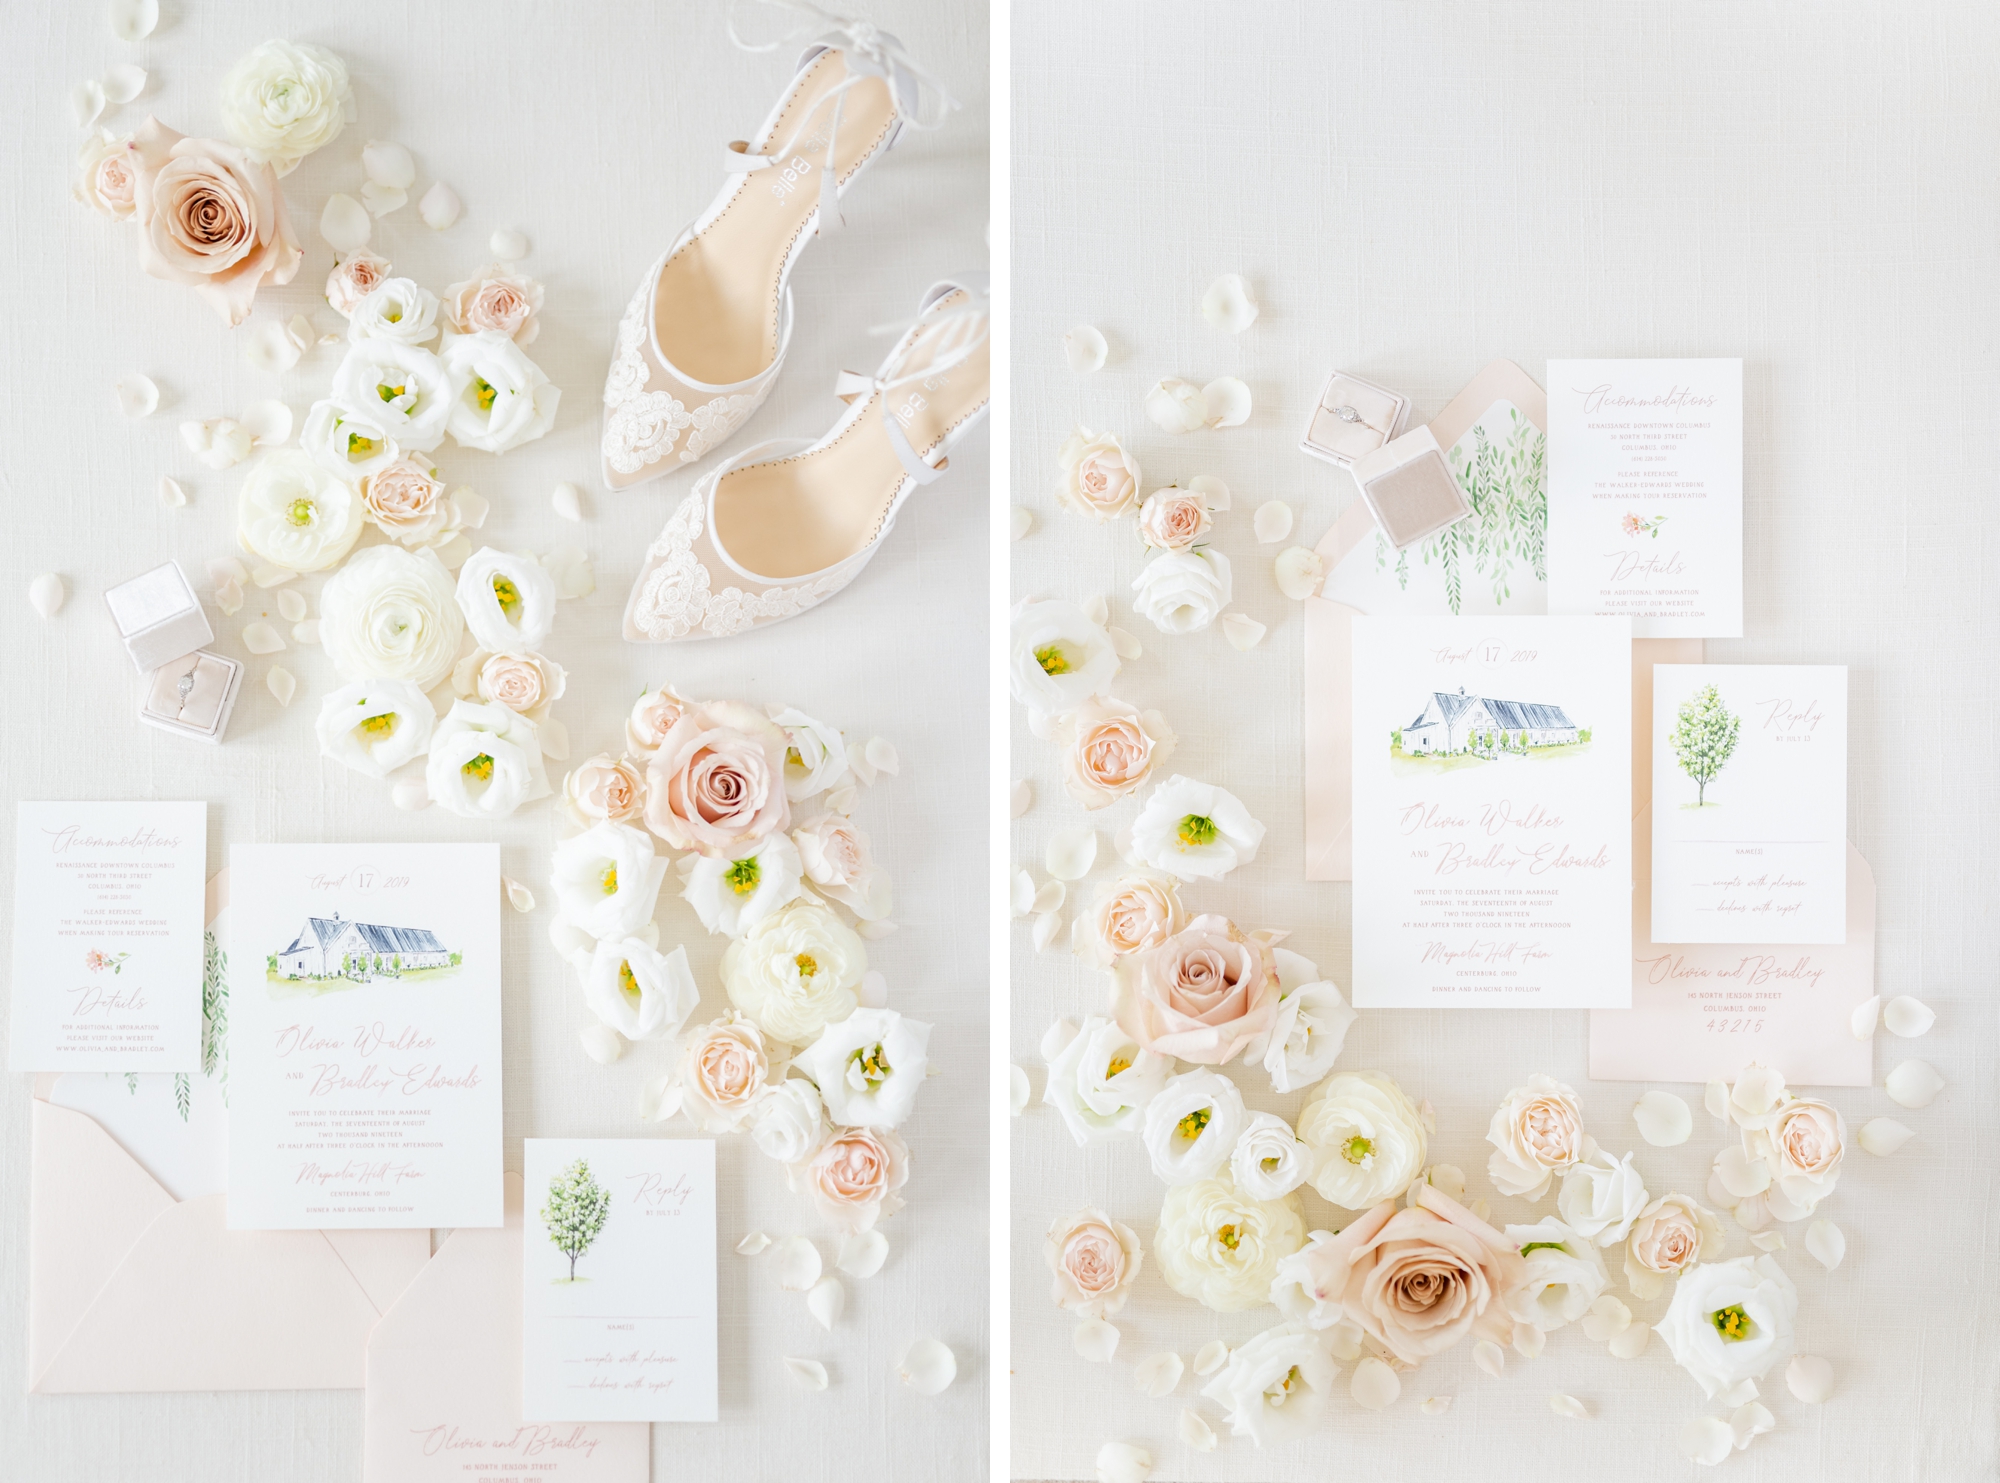
3. When you start styling, think about what you want the final composition to be. Do you wan it to be vertical? Horizontal? Maybe diagonal? Keep this in mind BEFORE you start styling to help guide you as you lay out the different pieces.
Below, there are two examples for you: On the left is a photo I set up to be “diagonal” and the photo on the right is set up to be “vertical.” Even though horizontal is the most common, this is your chance to get creative with it!

4. After you decide how you want the invitation to be laid out, start with the MAIN piece of the invitation, then go from there. You want this piece to be the focal point of your photo because it typically has the couples names and wedding date on it, as well as the most design elements. Because of this, you’ll want to start with it in the middle then style around it to help to keep it front and center!
5. As you’re styling, think about having your photo being “balanced.” For example, if you add some florals in the top right of the photo, you’ll want to add something (maybe more florals or the ring box) in the bottom left corner to even it out. Not that you want each side to be identical, but for each side to have the same amount of “stuff going on” as the other side!
If you LOVED this week’s blog post + video, screenshot you tuning in and share on your Instagram stories! I’d LOVE to see you learning and loving this series on shooting wedding details!
If you want to learn more about shooting details, grab my free download below: “6 Secrets for Photographing Wedding Details.” I’m sharing even more tips on how to ROCK your wedding details photos at any wedding:
This is so super helpful! It’s crazy to see the difference between the flatlay without blocks/lenscap and the flatlay with those things propping up certain elements! Question: what aperture do you normally shot details at when you’re shooting like this? I would think f/4 or maybe even higher? I worry that 2.8 wouldn’t catch everything in focus with the different heights of flowers, invitations, jewelry, etc.
Right?! It’s CRAZY!!! So happy to help!