


")


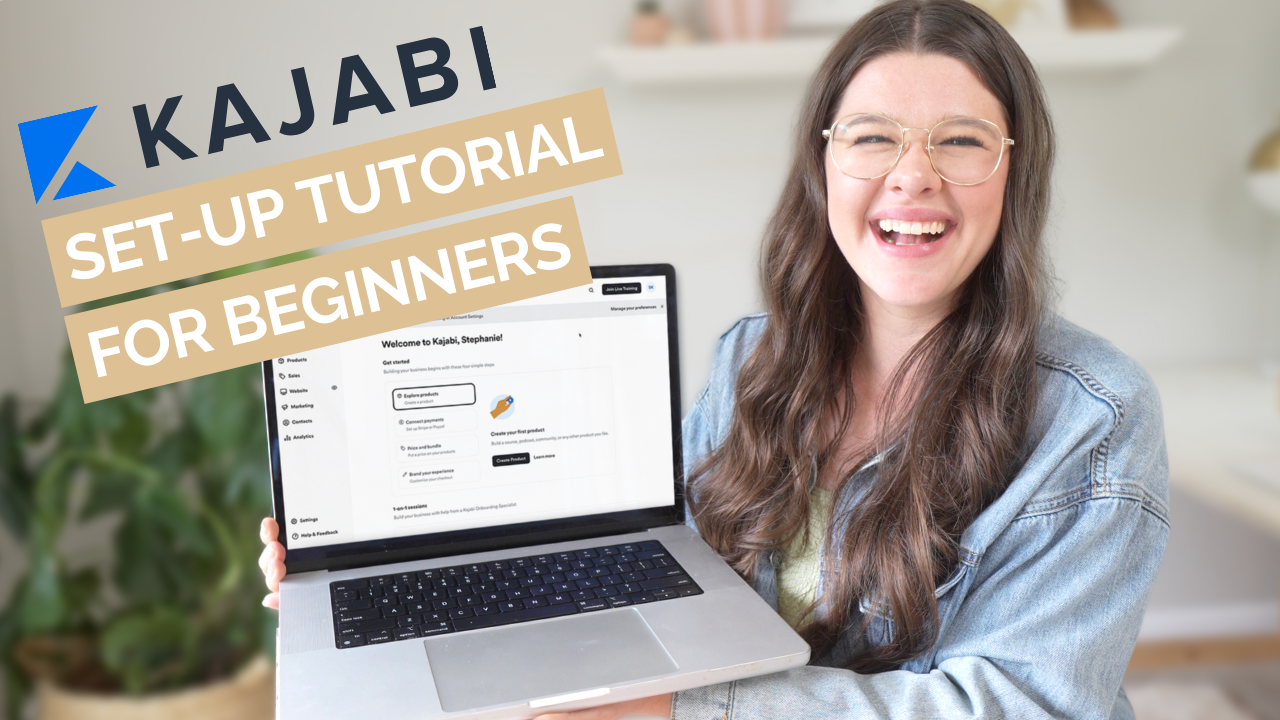

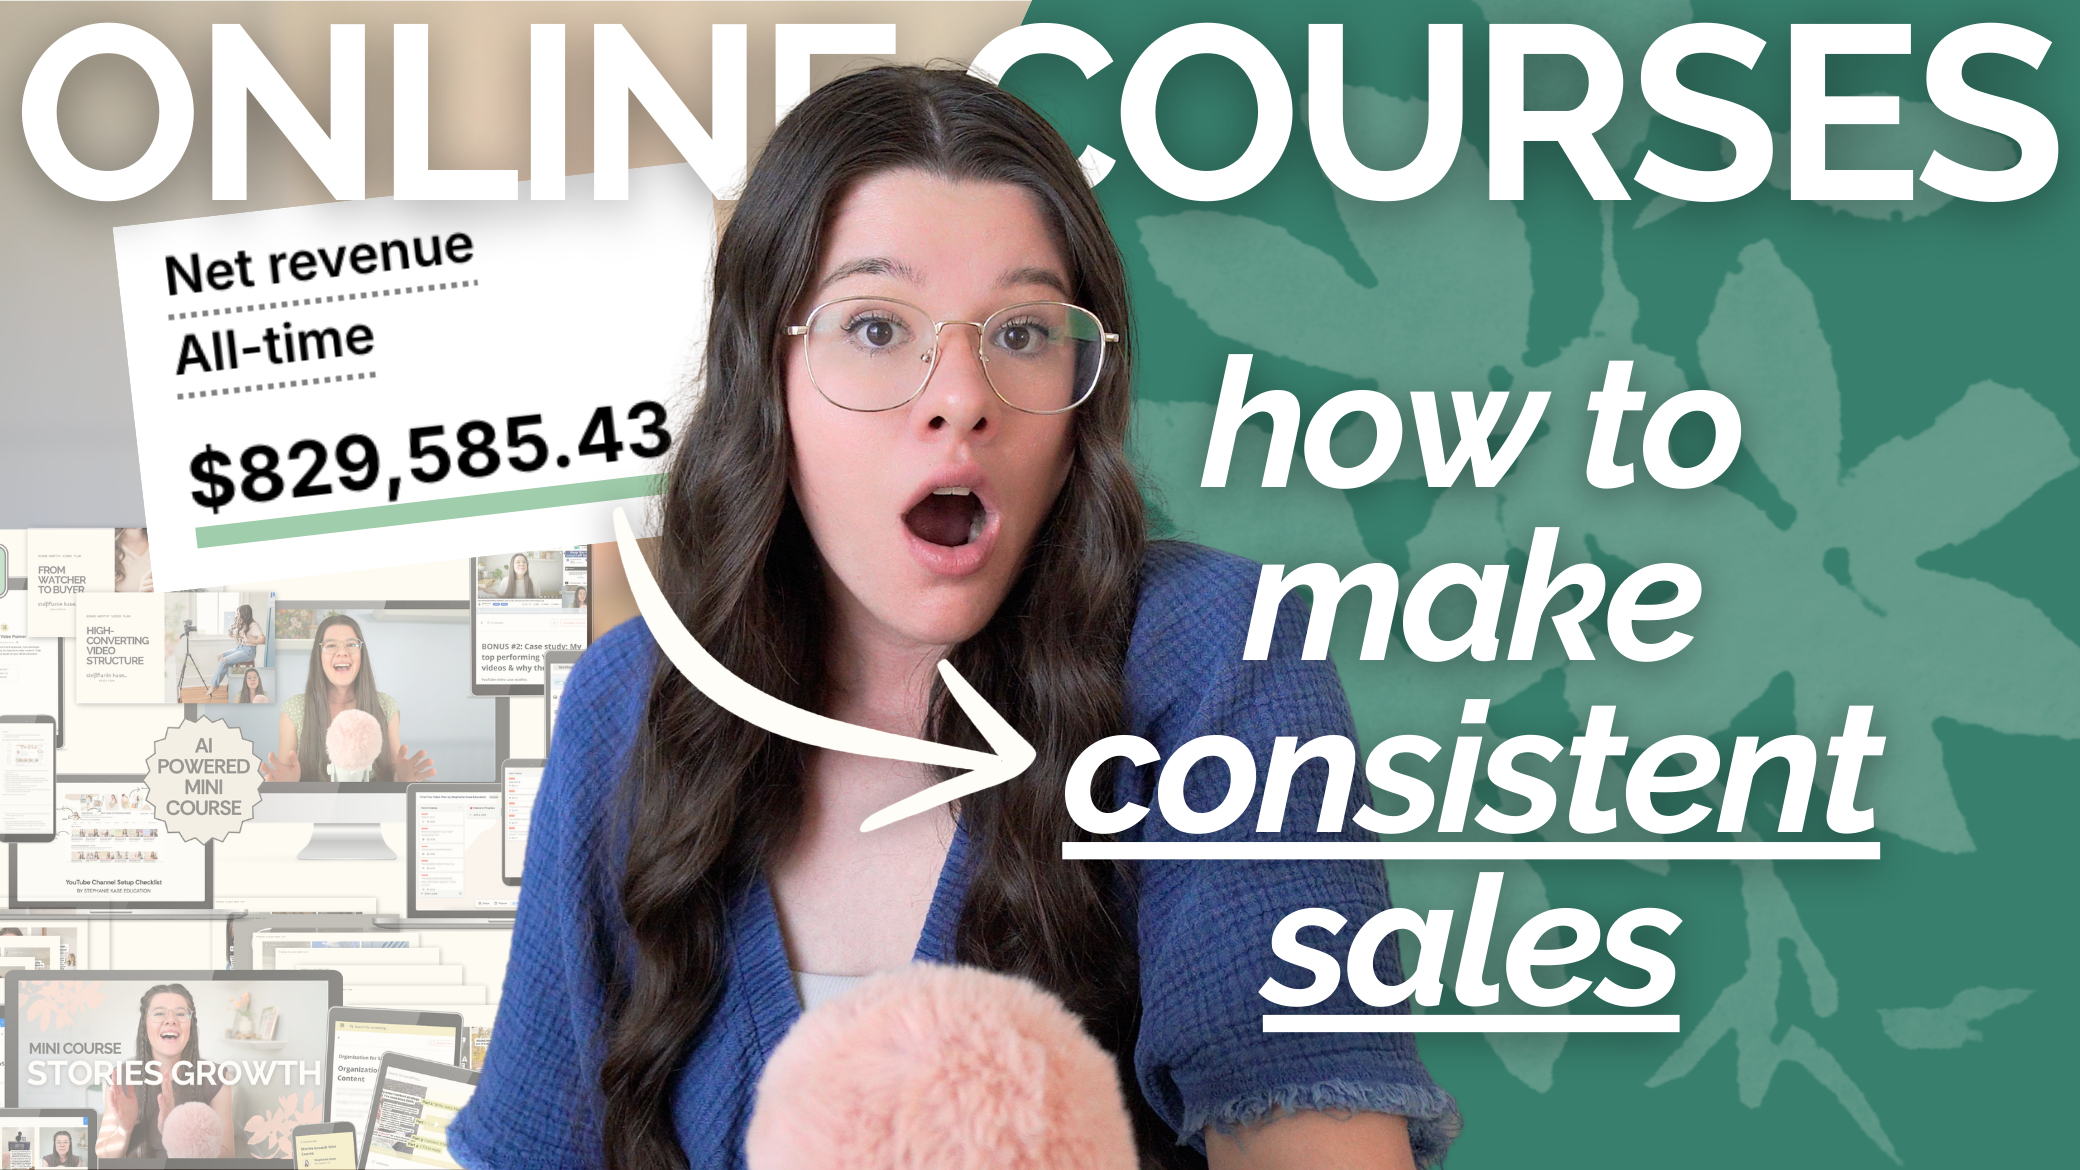
As a 6 figure business educator with online products, Kajabi is my FAVORITE course platform to create, grow, and manage our digital products. In this video, I’m walking you through a step by step tutorial for beginners on exactly how to get started using Kajabi to create your first online course – including creating an account, setting up your course, uploading your videos, and creating a Kajabi checkout link. This is a jam packed video, so let’s jump in!
PS. Get a 30 day free trial on Kajabi here!
Get Started with Kajabi
Use my code for a 30 day free trial on Kajabi to get signed up. This freebie is better than their typical 14 day free trial, so get signed up for the program first! Once you’ve signed up, open up Kajabi and we can get started. When you’re logged into Kajabi, you’ll see their blue box about creating a product in your upper left hand corner, or you can navigate directly to “products” on the left hand side of the screen. Select “products” then “courses” and hit “get started”. You’re on your way! The nice thing about Kajabi is that if you’re setting up a course, their software walks you through their template so you don’t forget anything in the process.
Setting Up a New Course
After you’ve selected to add a new course, you can begin setting everything up. First things first, add the title of your course. For this demo, I’ll be using “Example Course”. I’m going to also toggle the course outline generator off. This is an AI tool that would take your content and description and generate a course, but I don’t want to do that. Feel free to leave it on, if you do. The next few pages will be where you can add the branding for your course with images. After that, you’ll be able to set up pricing – whether it’s paid or free. You’ll need to set up your payment provider if you’re going to be selling your course. It will walk you through all of those steps!
As you begin to set up your course, you’ll be brought to a screen where you can add your modules. Under each module, you’ll be able to add your individual lessons. With each lesson, you have the option of setting it as a draft, pushing it live, or even dripping it to your students. Drip content means that your content would go live at a later date or time in your course. When you’re ready to add new lessons, quizzes, or submodules, simply hit “add content” near the first module listed and you can then select what type of content you want to add. You can also hit the black button in the upper right hand corner that says “Add content”, too! This is the best option if you need to create your next module. So, let’s try that now.
Adding a Module
After you’ve added a module, it’s time to name it! You can also add a description and photo if you want to. Immediately, you can add your lessons. Now you can edit your lessons! Simply click the name of the lesson and you’ll open up that section on Kajabi. Here is where you’ll add your videos, content, workbooks, or other pieces of your course. I always like uploading a copy of my slides when I’m doing a video lesson for my students – just a little tip there! In the video description, I’ll add any links I might have mentioned and things to know. One of the best parts of Kajabi is that you can work on your lessons and modules as you need, even if your course is live, but the content won’t go live to your students until you hit “publish”.
Checkout Links
The other thing I want to show you is how to create checkout links in Kajabi. Once your course is all set up in Kajabi, the next thing you’ll need is checkout links that allow people to purchase your course and get set up right away. I love that this can be done in their software – they truly make it so easy for you to build and sell your course! It’s a great all-in-one platform.
Go to Sales on the left hand side and select “new offer”. Title your offer and select which products are in the offer. This ensures that when someone uses this checkout link, they will automatically get access to whatever products you’ve listed. After you hit continue, you’ll be able to decide on the price or if it’s a free offer. For the sake of this demonstration, we’ll do “free”, but the steps are the same for a paid offer, too!
Creating an Offer
When you’re inside the offer, there’s a lot of options for you and it can feel overwhelming. But, at the top – review the list of products for that offer. This is helpful if you decide to offer a bonus later on and need to add it in, though I recommend duplicating the offer and adjusting as needed so your original offer link still works. On the right hand side, you can edit more of your offer details. As a reminder, the title that you put is what your students will see when they go to purchase, so keep that in mind.
Below that, you can add an internal title for yourself, though! We have a lot of labels in our account, and trust me – once you get going in Kajabi and with online courses, you will too! In this section, you can also add a description and adjust all of the payment information and pricing. If you have payment plans to set up, you’ll do that here too!
Post Purchase Options
Back on the main details page, I wanted to show you how you decide what happens post purchase. This is where you can determine if they’re getting sent somewhere specific on your site and if they get any emails. Kajabi gives you three options for where the student will go post purchase: their member library page, a custom thank you page, and an existing landing page. We use custom landing pages for each of our products and send our students there upon purchase! You can also send your students a custom email, which is what we do. I always mention the product that they purchased and anything that my students might need to know right away about that product.
Select Your Automations
Below the emails, you can select your automations, which is super important! Kajabi is awesome – so this section helps you decide what happens when someone purchases a product. They offer so many options here! The most important thing I do here is add a tag to the customer. So, when they purchase a product, a tag is added to them. My tags are based on my products so that we can easily segment who bought what in our account. For example, if someone bought the Reels Mini Course, they’d get an RMC tag.
The last thing to go over here is how to edit your checkout. Select “edit checkout” in the upper right hand corner. Here, you’re going to edit the actual page people see when they receive your checkout link. We want to make this look really good. I recommend changing your branding (font, colors), add a banner image, and add a little about your product. One of the things that I think is cool is adding testimonials to the bottom of your check out page. It’s amazing and we try to do that with our products! When you’re done, you’ll be able to get the link for your offer.
Upsells
The last thing I want to show you on the offer page is upsells! This section of your offer setup will allow you to dictate what you want to use as an upsell. Once this page is complete, whenever someone checks out with your link, they’ll automatically be redirected to this upsell page where you’re pitching them another product that’s similar and will solve a pain point for a lower price. Basically, Kajabi is asking them if they want another of your products. It’s super easy to set this up – adding a title, description, photo… a lot of the same things we’ve already done.
Duplicating Offers
One of the hacks our team uses all the time with our offers is duplicating them. This is a super easy way to create an updated offer without having to redo all of your work. On your main offer page, you can use the three dots on the offer you want to duplicate to find the command. This is super helpful if you’re adding bonuses, adjusting the price point, or creating a special offer. The only thing it does NOT duplicate is your automations. So make sure you go in and update any automations you had!
Once we’re all done, we use that checkout link on our product pages or sales pages. Anytime someone hits “buy”, they’re going straight to a Kajabi checkout page. It just makes everything so much easier for us!
I’d love to know if you have more questions about Kajabi. Please let me know what else you might want to know so I can make more tutorials for you!
Other Resources
nterested in my strategy around YouTube videos? Find out more about picking topics, filming and more in My Formula to Making Money on YouTube. Learn how I’m turning content on YouTube into money in the bank!


")

