I’m so excited about today’s video because we’re talking about how to film an online course by yourself! I am a business educator who sells a lot of digital products. Many of them have video components and I have three courses that I sell. I’m constantly asked how I create these courses without a videographer, alone in my apartment, so today I want to share exactly how I prepare and film a course alone.
PREPPING TO FILM
The first step to creating your online course is to create an outline. I like to create mine in Google docs and literally brain dump everything in there that relates to the course I want to create. Honestly, this takes me weeks – if not months – because I want to include literally everything I’d want to put in the course. Once I’ve finished my brain dump, I begin to break it up into lessons based on the content.
After the outline is finalized, it’s time to create slides. Personally, I LOVE using Keynote for these slides. Keynote allows me to keep everything super simple but Canva is another great option for your slides, too. Most lessons will have slides, but the amount of them will depend on the content and structure of the course. Some lessons, like tutorials, may not need that structure so just keep that in mind.
The third thing when you prepare to film is actually planning to film. I recommend planning which days you want to record – and I don’t recommend filming more than 2-3 days/week. I found this out from personal experience because I have definitely pushed myself to film way too much at once. My voice gave out and I was just so tired while I filmed. So, definitely give yourself plenty of time!
RECOMMENDED MIC
When it comes to actually recording my videos, I use a different setup than I do for YouTube. The reason why is because I prefer to have one simple setup while I’m filming my course – I want things to be consistent, clean, and easy to film. This simpler setup allows me to focus on my outline and make sure I include every single thing I mean to include.
My setup for filming courses starts with my Blue Yeti microphone. I absolutely LOVE this microphone. It’s amazing and I use it for a lot of stuff, actually. This mic plugs directly into my computer and means the setup is so easy. I like to add on the pop filter, too – to help make sure everything sounds really good. When you put it on the desk in front of you, remember to keep it just over a fist’s distance from your mouth. This will ensure everything sounds great.
BEGINNER SETUP
When it comes to actually filming, there’s two options I want to discuss: a beginner and advanced setup. For beginners, I recommend using Loom! One of the reasons that I’m a big fan of Loom is because it’s really just simple to use and you don’t have to go crazy trying to learn a new software. I also like that you can record and show your face in the bottom corner – which is great for your students to see you! It will help them feel more connected and probably learn from you even better! Plug in your mic, pull up your slides, and start recording! It really is that simple.
ADVANCED SETUP
As you can see, the beginner setup is super simple. It’s a great way to get started. However, it’s important to understand that when you increase the production value of your course, you can charge more and students are likely to enjoy more or learn more. But I want to be clear: we all start somewhere and I don’t want you holding back from creating content because you’re worried about the production value. Start with Loom! You can always go from there!!
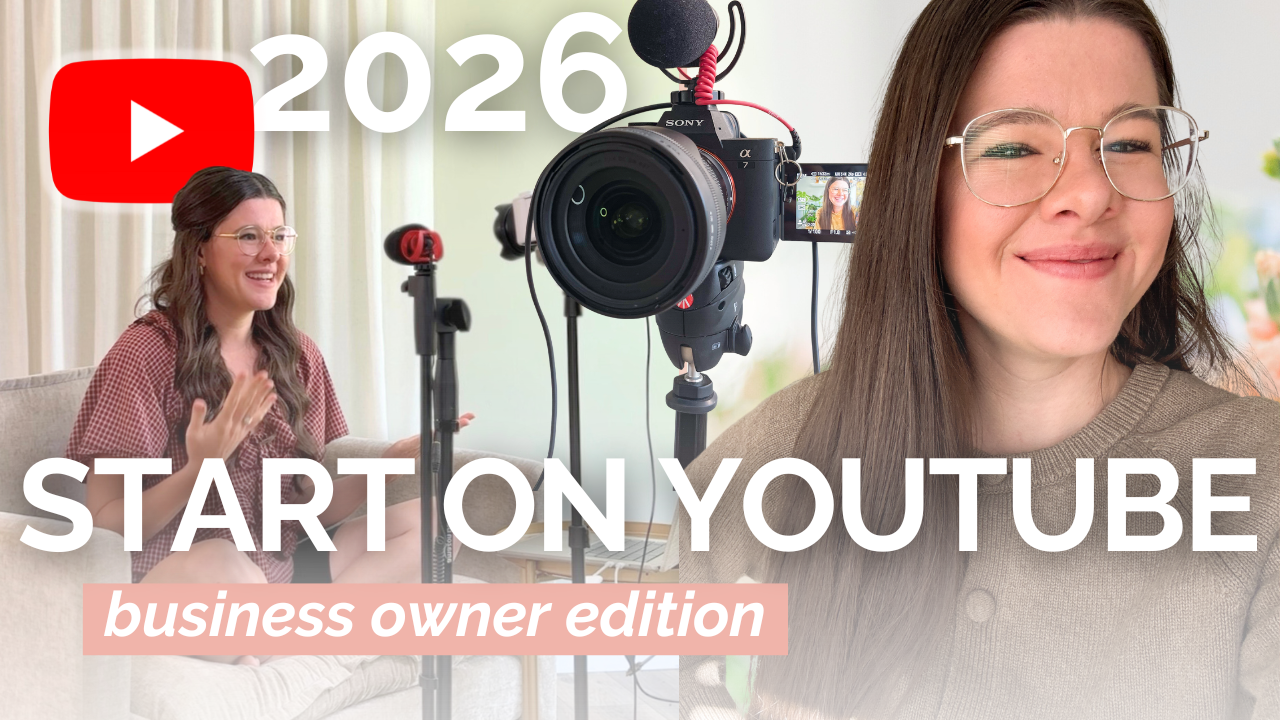
When you’re ready for a more advanced setup, I recommend simultaneously recording your slides and your face! I use QuickTime to record my screen while I teach. QuickTime makes it super easy to ensure I’m using the Blue Yeti microphone audio, which is really the most important part. While you’re recording with QuickTime, record yourself with the DSLR on your face. Remember, you don’t really need the audio on the DSLR since you’re using the mic – but it will help you sync up the videos from QuickTime and from the DSLR.
EDITING YOUR VIDEOS
Once you’re done filming, it’s time to start editing. Loom makes it super easy to edit within their software. You can cut out mistakes, pauses, or anything else you need to remove. It’s super easy and I LOVE how quickly you can get through the videos.
For the advanced setup, I use iMovie or Final Cut Pro. iMovie is free and Final Cut Pro is about $300, but it’s an investment you might want to make! You’ll want to make sure your mic audio matches the DSLR video. Once it’s matched, you can begin to do your edits. This type of editing and filming does increase your production value, because you’ll have high quality audio AND video for your final product. Being able to edit this way also allows you to create a more interesting video – going between the slides and your face.
As you can see, filming by yourself is a process and still takes time and an investment. But, it can be cheaper than hiring a videographer for days on end – and if you’re someone who loves that process, it’s definitely a fun option! If you’d like to see more behind the scenes of my course creation, check out my VLOG here from filming one of my last photography courses! This shows you the setup visually and will help you really understand what I’m saying when I discuss these various methods of filming.


Thank you for this article. Question for you: for my course, I need to read the course content. There’s just too much stuff to remember. How do you recommend I read the content and record myself? I want it to appear that I’m looking directly at the camera. Thanks!
I need to read my course content as I’m filming myself. How do you recommend to do it when I’m reading yet I want it to be looking directly at the camera?
There are laptop mounts you can purchase to hold your laptop just under camera and programs you can use to make your script roll like a teleprompter!