


")


Overcast lighting = EASY lighting. Have you ever thought that before? Well, I have some news for ya:
That’s not true at all.
In fact, shooting on overcast days can be JUST as tricky as shooting in full on sun.
Does that have you super confused?! Maybe you’ve been told before that overcast lighting means you can shoot ANYWHERE and have it look good… right? But especially when you have a light and bright editing style, that can be further from the truth!!
It can be SO easy for your clients to look like they have dark circles under their eyes… or for the background to look like a black hole. There are some KEY things to look for to avoid this from happening!
Before we dive right in, be sure to download my FREE guide on alllllll of my top hacks for a light and airy style:
[activecampaign form=117]
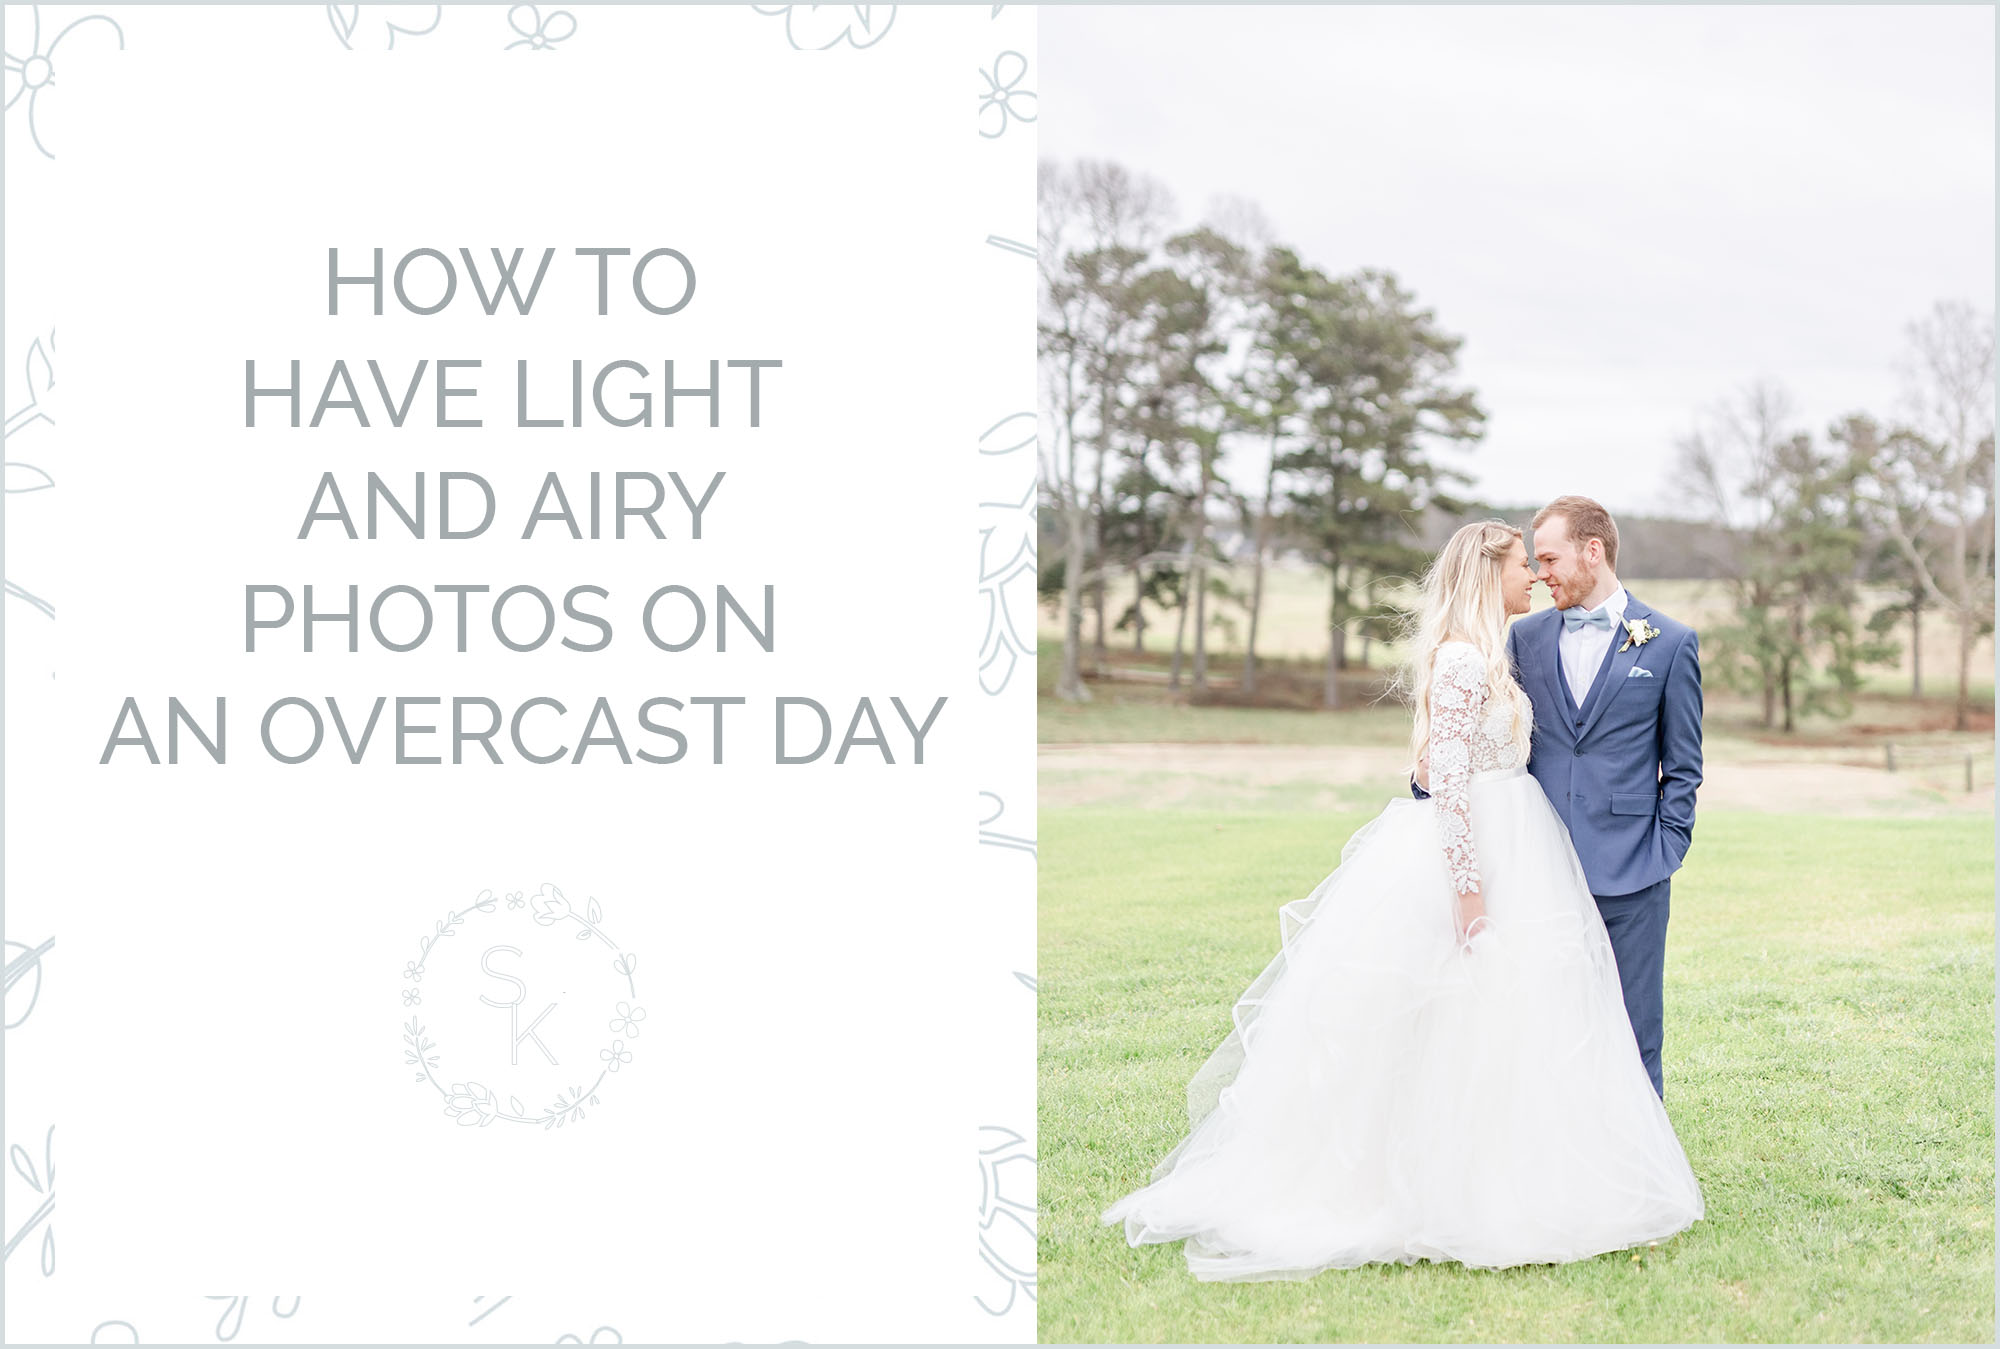
First off, let’s chat about LOCATIONS and LIGHTING. When it comes to having a light and airy style in general, it starts in camera. If you want a light and airy style on an overcast day, you’re going to have to search for those perfect locations that have a light background + don’t give your clients those dreaded dark circles under their eyes.
To achieve this, the first thing I want you to keep in mind is to think of the sky as a BIG soft box. It’s super important that you KNOW where the sun is coming from, even on an overcast day! You’ll want to do the opposite you would do on a sunny day… Have your clients FACING wherever the sun is coming from.
You might now be wondering… okay, so how do I know WHERE the sun is coming from? It can be super tricky! And while you can eyeball it, it can still be super hard to tell for sure.
My favorite secret for finding where the sun is on ANY day is using a smartphone app called Lumos. This app will tell you exactly where the sun is at any particular time! It is a game changer for shooting in general, I use it ALL the time!! Once you know where the sun is coming from, use it as a general direction for where you want your clients to FACE. This will avoid dark circles and make their faces look super flattering!
The second thing to keep in mind is you want to look for LIGHT backgrounds. Pine trees are going to photograph darker than trees with light colored leaves, and white walls are going to photograph light and airy. Try to avoid “black holes” in your backgrounds.
A good way to determine this? Take a test shot to see how a background is going to appear on camera! You can also squint your eyes to make everything “blur” to see where potential black holes might be where you are shooting.
Lastly, when you’re editing your photos, there are a few KEY things I do while editing to achieve a light and airy look. I talk about these in my editing tutorials, but I make sure I am bringing the highlights DOWN, the shadows UP, and my luminance up in my “greens” under the HSL panel. These few tips can drastically improve the look of your photo for a light and bright editing style!
If you LOVED this post, I’d love for you to download my free guide, 5 hacks for a light and airy style! Download with your email below!
[activecampaign form=117]


")

