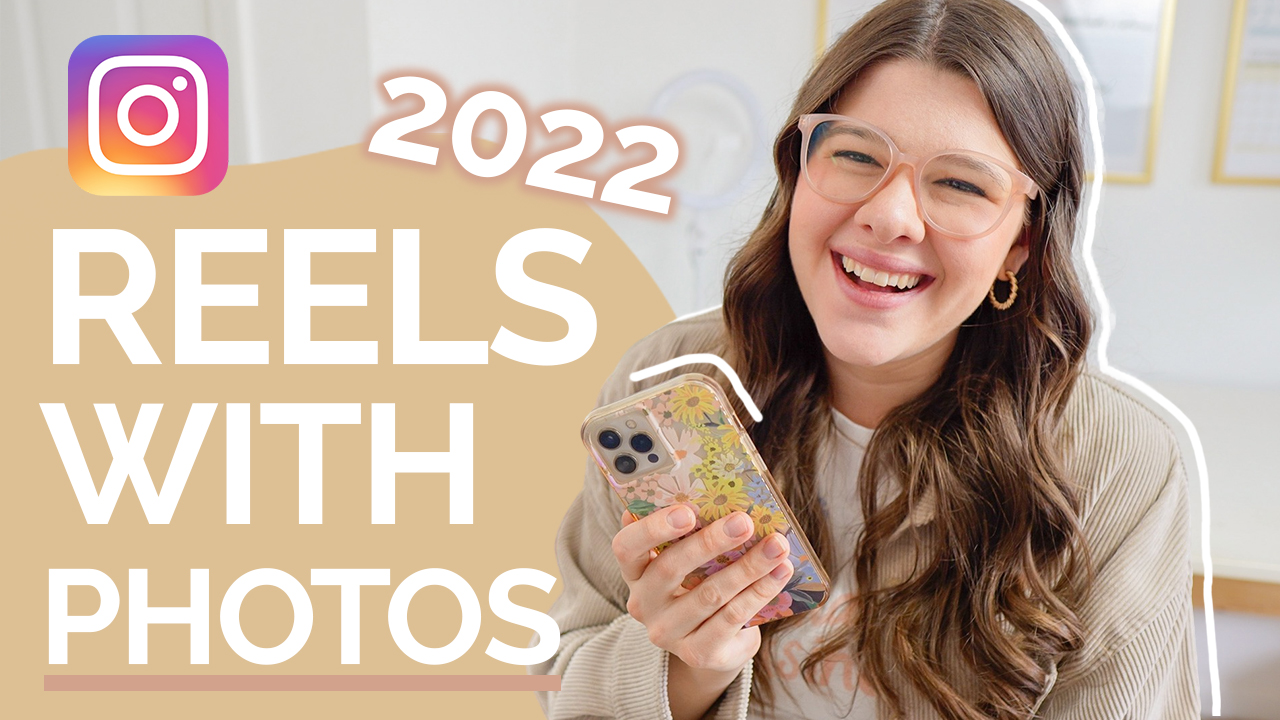
As someone who spends a lot of time helping other brands create Instagram Reels, a question I get asked often is how to make Reels with photos. There’s been several trends lately (“ Add 27 photos to this sound” ring a bell?) and if you’re wondering how to put these photos together, this video is going to answer that question! Today, I’m sharing the easy ways to make reels with photos that I LOVE. I use these methods all the time and I hope they’re useful for you, too!
How to Make Instagram Reels with Photos
The easiest way to add photos to your Reels, particularly if you’re adding 10 or fewer images, is to pull up the Instagram editor. This is my preferred method if I’m trying to match to music and it’s 5-10 images long. Swipe up and you’ll have access to your camera roll. You can quickly adjust how long the image will show for and then hit “add”. Now that image is added to your Reel. If you don’t have this feature for any reason, I do have a work around you can see here involving screen recording! Anyway, it really is that simple.
But, if I’m being totally honest… my favorite way to add photos to Instagram Reels is actually by…
USING INSHOT
InShot is my preferred way to add photos (and other videos) to Instagram Reels. I’ve tried using the Instagram app and after a few photos, I’m over it. I know that many of you feel the same way too! That’s why I love using InShot (download for Apple / Android)! It’s not a completely free program, but I think it’s very affordable. There’s a free trial but once you’re ready to commit, you can pay $3.99 a month, $14.99 a year or $34.99 for lifetime access. Out of all of the editing apps I’ve tried for Reels, this is my favorite. It’s so worth it to pay the fee for lifetime access.
Once you’re in the app, select “video” and tap “new”. Then it will pull up videos and photos from your camera roll, so you can select the images you want for your Reel. You can access your camera roll folders within InShot. Because of that, I usually create a folder for the Reel I’m going to make so it’s super easy to find everything instead of scrolling for days. Once you’ve selected your images, hit the green check in the bottom corner. Now, you’ll see your photos have been added!
To remove the white space above and below the image, select the image and hit “canvas”, then “zoom”. If you hit “full”, the image will fill the entire screen so that there’s no white bars. After that, you can begin to edit the length of the photo in your video using the white boxes around each photo. It really is that easy. Now you can export your video using the upper right hand corner to save it to your camera roll.
PS. Want to learn more about InShot? I have a full InShot tutorial HERE!
Adding still photos to Instagram Reels is super easy with the Instagram app and InShot. I hope that these tips helped you feel more confident and ready to create Reels! If you want more help, make sure to check out my FREE Reels Class and my FREE Reels Growth Facebook community for help and tips for Instagram Reels!


