


")


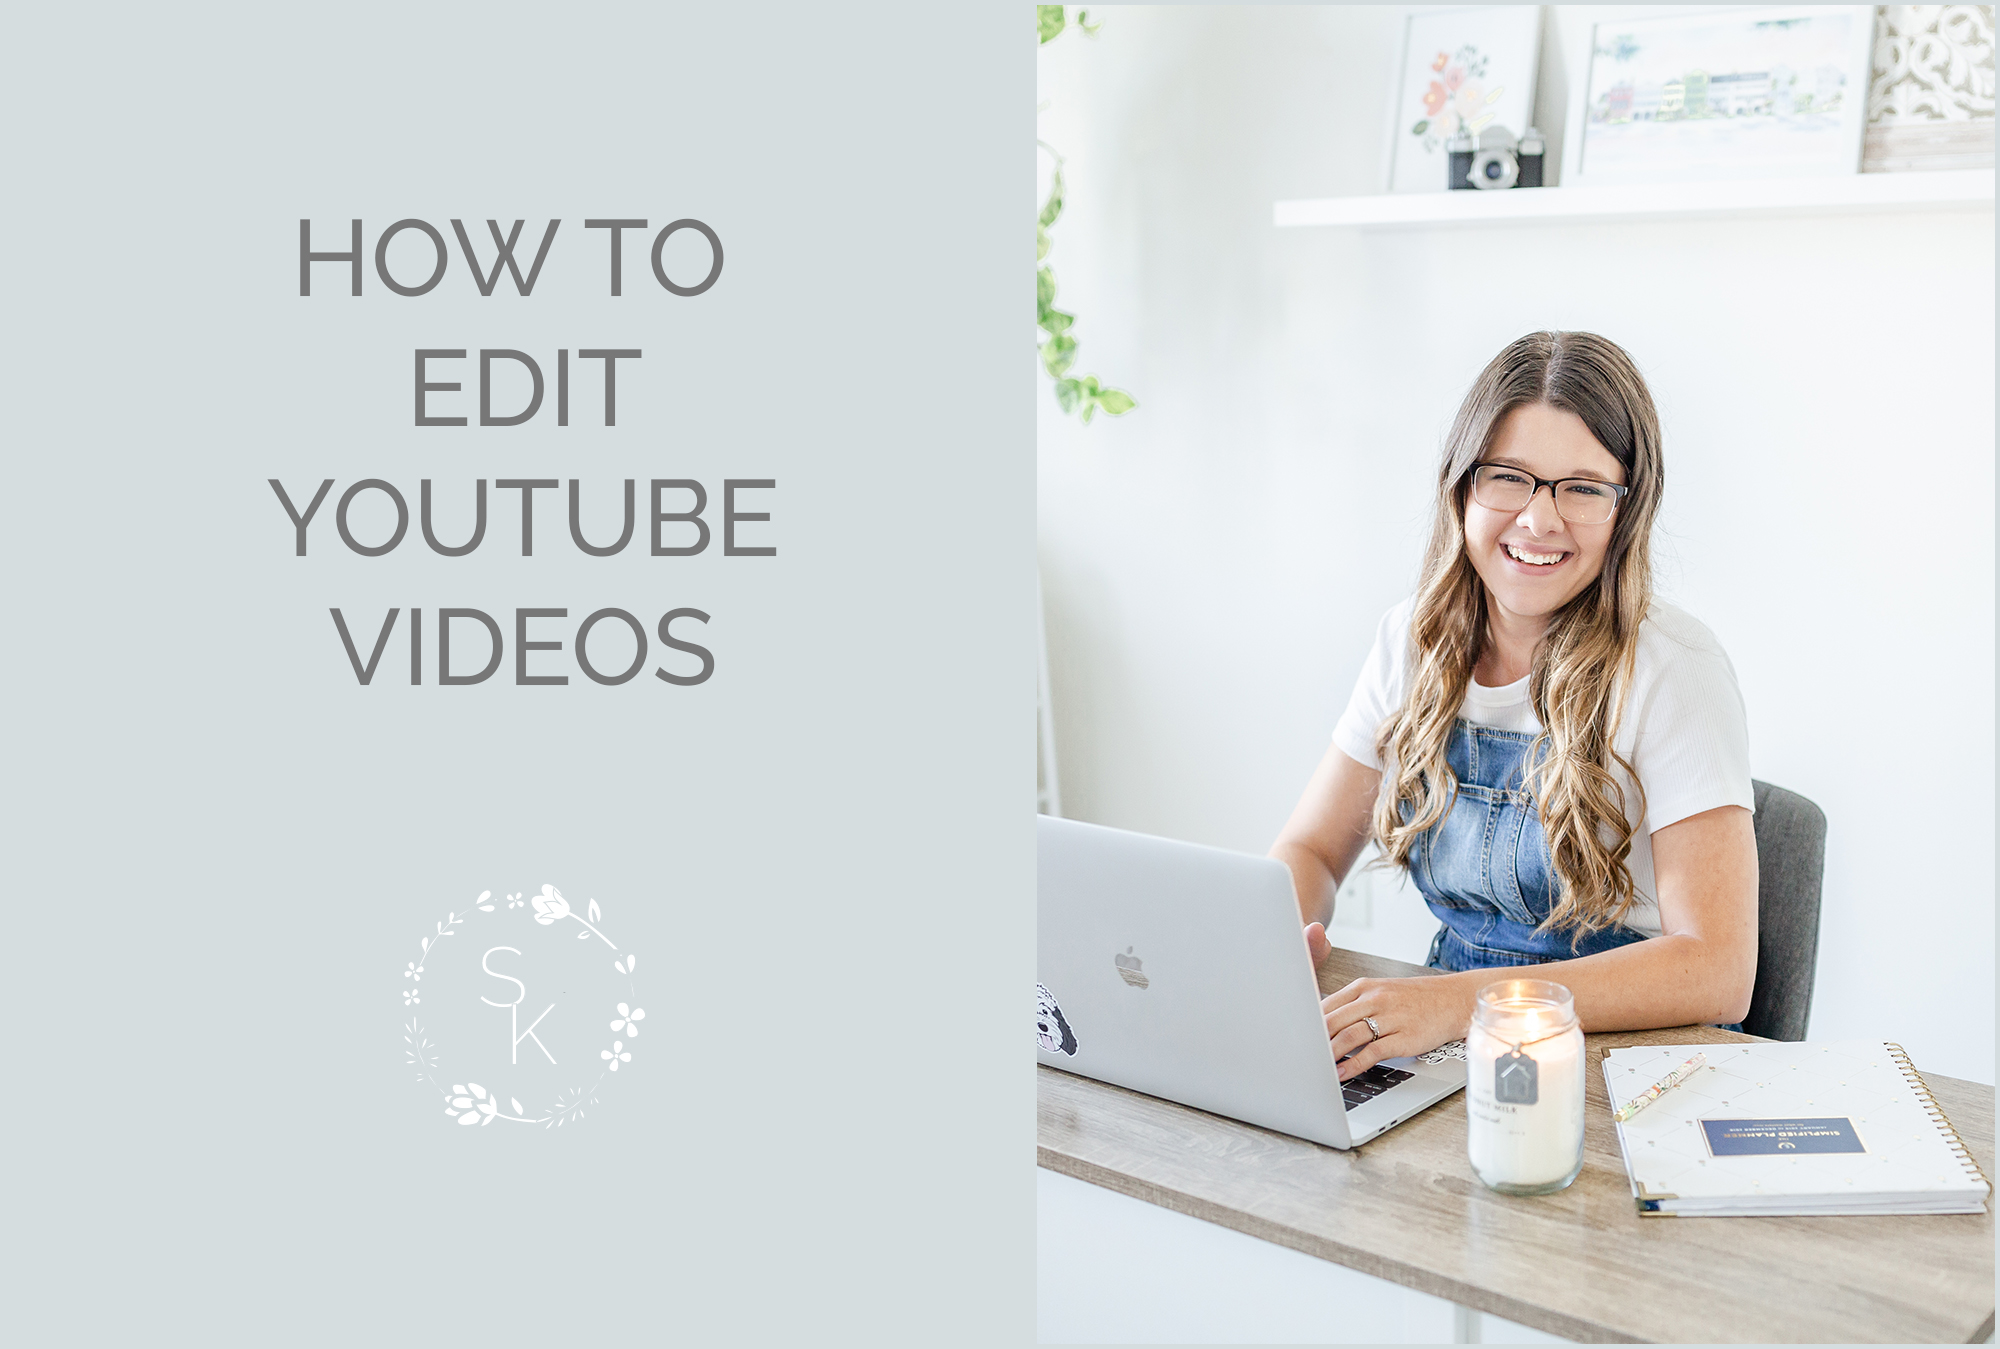

Last week, I shared my process for sitting down and filming YouTube videos and how that actually goes down. Today, I want to share the very next step with you all, and that is editing my YouTube videos!
I have been making videos for almost two years now, with about a 4 month break this past winter. Way back when I first started, I edited all my own videos for the first 6 months or so, then had a video editor helping me out… but to be totally honest, when I jumped back into YouTube this year, I wanted to up the way I edited and make my videos more interactive and interesting to watch!
I spent a LOT of time learning how to edit my videos to be more interesting and learned a ton! After I nailed down my process for a few months, I brought on another video editor (my sister!) to help me keep up with the editing. So to be completely transparent, I don’t do most of my own video editing anymore – however, this is the exact process I used and taught my sister to use, and when I do edit the occasional video, is how I edit them!
Before we jump right into it, be sure to grab my free download, the Ultimate Guide to DIY Youtube & IGTV Videos below:
[activecampaign form=121]
Here are the basics of the few steps I chat about in the video, but definitely watch the video for exact visuals of how I am editing everything and all the tricks I have up my sleeve!
STEP 1: I pull all the videos into Final Cut Pro into my project. Side note here: iMove is a great free option for Mac users! I go more in-depth on this in my video on my YouTube equipment. Once I have all the videos in my timeline, I make sure they’re all in the right order, then start cutting out the parts where I paused or messed up! I am dong the more “basic” edit right now to get all of the bulk of the video (the A-roll) how I want it.
STEP 2: After I have all my basic cuts done and the talking part of the video flows how I want it to, I then add in any B-roll, slides, or other overlaying graphics to my video. This includes where I mention any free downloads or resources, or when I want to show how I do something I am talking about. I also add my intro and outdo I had made for my YouTube videos. I got my intro done HERE at Fiverr, and made the outro graphic myself in Photoshop! Canva is a great free and super easy option for making graphics too.
STEP 3: Add in any background music into the video (I usually only add this during any B-roll where I’m not talking) and create my thumbnail for the video.
If you have any questions, drop em below!! And if you haven’t yet, be sure to download my freebie, the Ultimate Guide to DIY Youtube & IGTV Videos:
[activecampaign form=121]

")

