Today I’m sharing how I make my own YouTube and IGTV videos… all by myself at home! I get a LOT of questions about this, so I really wanted to break it down and share how I create educational videos that I post every week on my YouTube and Instagram on IGTV.
Before we jump right in, I DO want to clarify that to get started in video for your business, you DON’T have to do anything crazy. You can set up your iPhone, hit record, and upload that directly to IGTV and YouTube, OR even do live video (these are crazy impactful right now!) However, if you’re looking to take your video set up to the next level and provide something with better quality, this is for you!
You can get as fancy or as simple as you want with your video setup, especially for filming videos of yourself talking! Don’t feel like you have to go all out right away. There are SO many options, but no matter where you’re at and whether you’ve already got a fancy DSLR or not, or have $0 to spend or $1,500 to spend… I’ve got you.
CAMERA
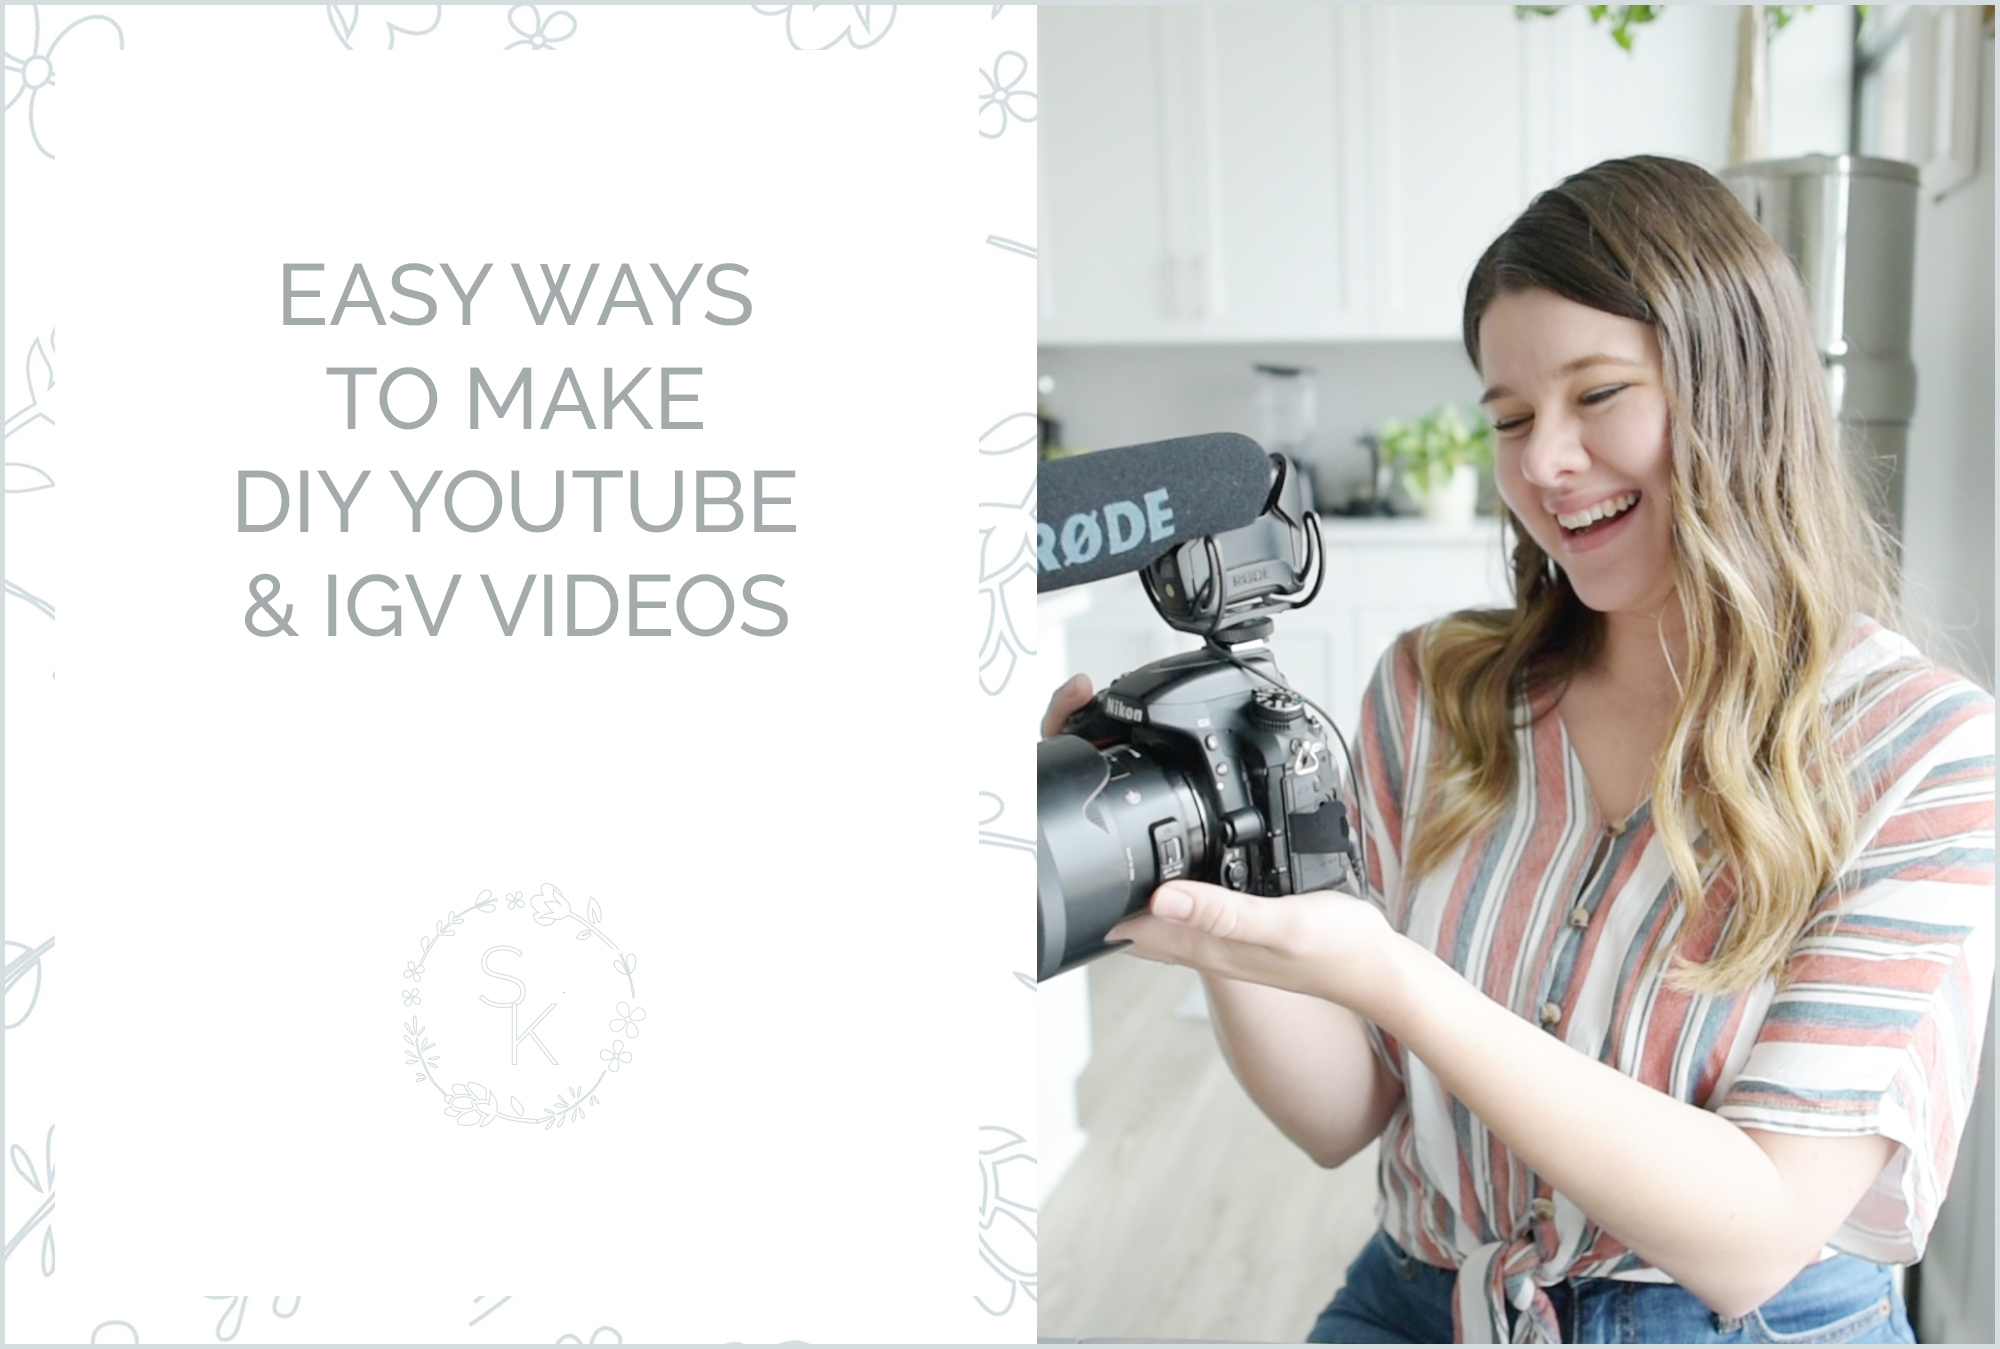
First off, let’s chat about what CAMERA to use! If you’re a photographer already, I recommend using whatever camera you use for your shooting! Any DSLR will work GREAT for this. I currently use my Nikon D750 with a 20mm lens so that I can keep my camera closer to me (for better audio with my shotgun mic, more on that in a second!) and I’ve found it to be an amazing focal length!
If this is too technical for you or you aren’t a photographer, honestly? Starting with your smartphone is TOTALLY a great option! If you go this route, I would still get a mic for great audio, but a lot of smartphones nowadays have AMAZING cameras that are honestly just as great of quality as mid-range cameras are.
If you do want to bump it up a little but don’t want to go all out on a fancy DSLR, a Sony RX100VA is a great option! I did try this camera at one point, and honestly, felt like my iPhone was just as good! But if you don’t have a great smartphone camera or just want a better option (with AMAZING autofocus) this is a great one!
Here’s a list of all the camera options I recommend:
- Any DSLR + quality lens you own (I have the Nikon D750 with Nikon 20mm 1.8 Lens)
- Sony RX100VA
- Your smartphone camera (I personally have the iPhone 10S Max)
*PLEASE NOTE: Some of the links in this post may be referral links. This means that at no cost to you, I might receive a small commission if you use these links to buy. This is so appreciated for all the free content I provide for you! :)
AUDIO
With a DSLR camera, you’re going to want to get a mic! I HIGHLY recommend getting a shotgun mic like the Rode VideoMic Pro. I use this and absolutely LOVE it. You do have do to some tweaking with the mic settings on your camera to get rid of white noise (I didn’t know this for the longest time!) but once you figure it out, it’s a breeze! You just plug it in, turn on the mic and camera, and record!
If you are using your smartphone camera or just want a cheaper option, I highly recommend this Rode lavalier mic that plugs into your smartphone. It’s one of those mics that clips onto your shirt. The only downside is you have to match up the audio with the video when you edit the video afterward, but it’s typically not too hard! I used this for all the behind the scenes videos in my Elevate Your Details course and on my YouTube channel.
Another option you can use if you’re filming with your iPhone is the Shure MV88 Mic. This allows you to plug it directly into your iPhone and have amazing audio, without having to match up the audio and video afterward! Plus, you don’t have to wear a mic directly on you in the video.
Audio options I recommend:
- Rode VideoMic Pro Shotgun Mic (plugs into your DSLR camera, doesn’t require you to match up audio afterward)
- Rode Lavalier Mic (great quality, low budget mic that works by plugging it into your smartphone with an app, but you’ll have a mic on your shirt and you’ll have to match up audio after recording)
- Shure MV88 Mic (plugs directly into your smartphone, for better audio while recording sit down videos with your iPhone!)
OTHER RECORDING ESSENTIALS
Alright, so you have video and audio covered… what else do you need?
First, let’s chat tripods. If you’re using a DSLR, you’ll want a camera tripod! If you’re using your iPhone, you’ll want a tripod for a smartphone. Here are both options below (I buy cheap ones from Amazon! They work great!):
- DSLR Tripod (tall DSLR tripod)
- Gorilla Tripod (short DSLR tripod)
- Smartphone Tripod (for recording on your smartphone)
Besides tripods, another thing to keep in mind is how you’ll see yourself on your screen to make sure you’re in focus. There are SO many different options for this, and I’ve tried a few different ways… but I’m just going to share a few things that have worked for me! If you don’t have the luxury of using a Sony with amazing autofocus or have a flip up screen built into your camera, you’ll have to manually focus with your camera.
One way I do this is with Nikon Camera Control Pro 2 on my computer, but it is an investment. I have also used an app from the Apple App Store called “Wireless Mobile Utility” that gets the job done! I sit down, connect my phone with my Nikon DSLR, then can focus from where I’m sitting, then hit record! I have found an app that I’ll link below that is for Canon cameras as well. The awesome part about any of these apps is not only can you see yourself recording, but you can also adjust settings and focus from where you’re sitting, without having to be behind the camera.
Of course, though, if you do end up buying the Sony RX100VA or another camera with a flip out screen and great autofocus, you won’t even need an app like one of these!
- Nikon Camera Control Pro 2
- Wireless Mobile Utility for Nikon DSLRs
- Canon EOS Utility (app for Canon users)
EDITING SOFTWARE
If you’re just starting out, iMove is an AMAZING option!! And the best part is it’s completely FREE! It’s already on your MacBook for Mac users. I used this to edit my videos for the first year of YouTube and it gets the job done! Now I use Final Cut Pro, but to be totally transparent, I don’t think I even needed to upgrade. iMovie is a great free option!
When editing in either of these softwares, you can cut out sections of your clips (where you paused to think or maybe said “um” too much *hand raised* haha), add music, overlay images, add sound effects, etc. This is typically the extent of editing I do with my videos, nothing crazy!
Another thing I want to throw in here is how I made my INTRO – I actually had someone on Fiverr make it! You can find the offer here:
MUSIC
There are two great options for music, depending on your budget! YouTube has a FREE library of music you can use. The next best option I’ve found is SoundStripe. You pay a subscription and have access to an unlimited number of downloads for music! It’s the best!
- Free YouTube Audio Library
- SoundStripe (use code “SKASE10” to get 10% off your first purchase)
Comment below with ANY questions you have! Hope this helps you as you create videos to help educate others and market your business!
*PLEASE NOTE: Some of these links may be referral links. This means that at no cost to you, I might receive a small commission if you use these links to buy. This is so appreciated for all the free content I provide for you! :)


If you’re just starting out and looking for a free video editing software then I recommend ShotCut. It’s totally free and works on every computer’s operating system such as Apple, Windows and Linux.