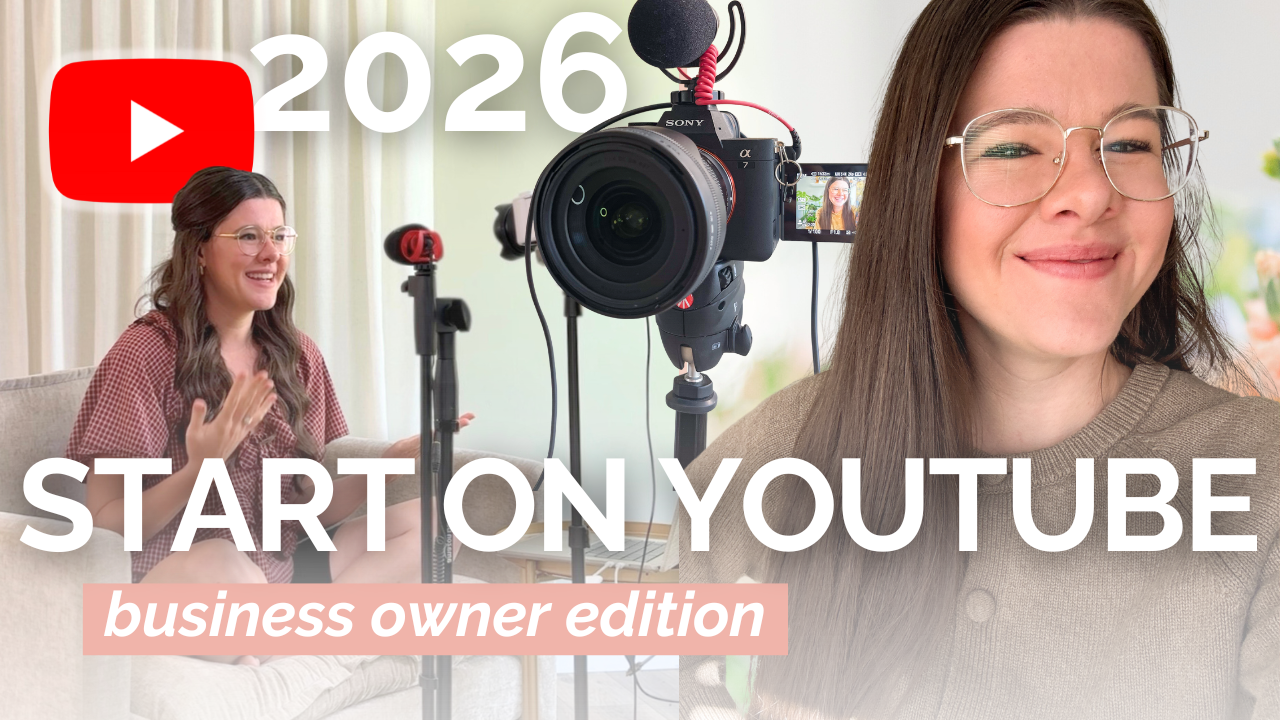
Have you ever wondered how EXACTLY someone sits down and films their own YouTube videos? Have you ever wanted to do the same but need someone to show you every step to actually setting up and hitting record? Well, you’re in luck, because today’s video is just for you!
I’m taking you through my entire process on how I set up and record all of my OWN YouTube videos with no video crew helping me!
Before we dive in, be sure to grab my free download, the Ultimate Guide to DIY Youtube & IGTV Videos:
[activecampaign form=121]
STEP 1: Have an outline of what you want to talk about in your video.
Typically I will have my outlines ready to go at least one day before I sit down and start filming, so all I have to do is set up and film on filming day. I love to batch record at least 3-4 videos at a time when I film, because it saves me time having to set up and do my hair and makeup every time! Just make sure to swap out your outfit every time so your videos all look different! Sometimes I’ll even change up my hair after a couple videos to have variety. Having outlines for each video helps SO much for you to know exactly what you want to talk about when you are filming. I don’t go off an exact script because I want it to feel more casual, but I do have bullet points of everting I want to mention.
STEP 2: Get your gear set up.
I set up my camera on a tripod, make sure it’s turned on and has a fully charged battery, put in SD cards, and make sure my mic is plugged in and turned on. I will have my iPad up with all of my outlines for me to reference while I’m filming my videos! I tidy up whatever area(s) I am going to be shooting in, like cleaning off my desk so there’s not a lot of clutter. If you haven’t yet, be sure to check out last week’s blog post on all the gear I use to film!
STEP 3: Get your lighting set up.
I have a few studio lights I set up for lighting when I am filming, and only keep 1-2 windows open (or shades pulled over). The reason for this is natural light is actually VERY inconsistent when you are filming long form videos, and it’s pretty noticeable – even on most cloudy days! The sun will shift slightly, causing the exposure of your video to go up and down. Because of this, you want your MAIN light source to be studio lights to maintain a consistent light source. I do like allowing some natural light to come in as a secondary light source, because it is so pretty – but definitely not as my main source of light! Click here for the studio lights I currently use!
STEP 4: Turn off all other noises.
You want to make sure anything that makes extra noise, like your dishwasher or A/C (or even your dog, guilty of this one), because if you don’t, you’ll hear it in the background!
STEP 5: Get yourself in focus.
I go way more in depth on this in my YouTube Equipment video and post and your options here, but since I am a Nikon user, I love using the free Nikon Wireless Mobile Utility app to get myself in focus (I set it to manual focus)! Then as long as I’m sitting in the same chair and it doesn’t move, I’m good to go with filming there! I typically will re-focus in between each video to double check each time.
STEP 6: Hit “record”!
For Nikon cameras, they can’t record continuously forever (they will stop at the 20-30 minute mark, depending on your settings). For this reason, I will also turn on a timer for 20 minutes on my phone to make sure I hit record again when it ends! If you use Canon or Sony, you shouldn’t have this issue. I will film continuously for each video, then stop the recording and start it again when I start filming a new video.
STEP 7: Use your outlines as you create your videos!
Make sure to smile right before you start talking and at the end of every time you stop talking – weird tip but it makes SUCH a difference for camera presence! Keep an upbeat voice and smile as you’re talking to make yourself appear more engaging on camera.
STEP 8: After I finish filming a video, I’ll always do a few “poses” while the camera is recording!
It’s just an easy and fast way to grab a screenshot of the video footage later for the YouTube thumbnail. Awkward? YES. But easy? YUP.
STEP 9: Edit my video in Final Cut Pro (next week’s video is going to be all about this!)
What questions do you have?! Drop em below!! Then download my freebie, the Ultimate Guide to DIY Youtube & IGTV Videos:
[activecampaign form=121]


