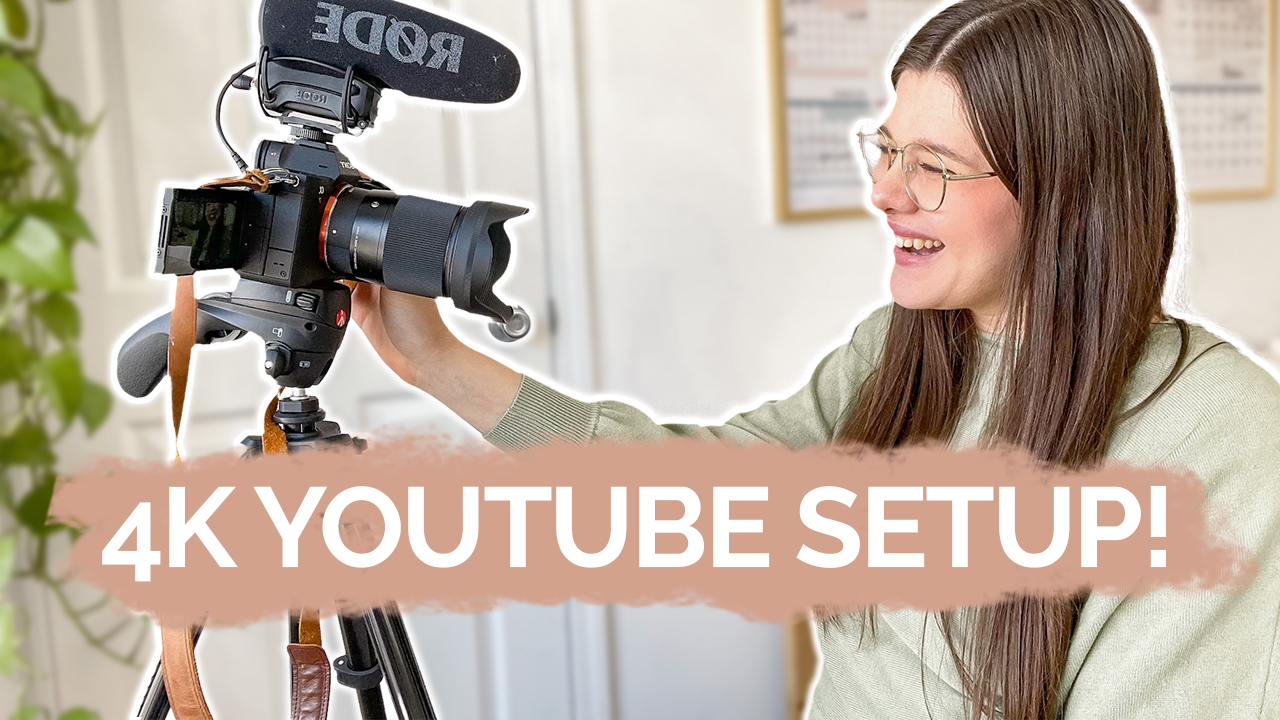
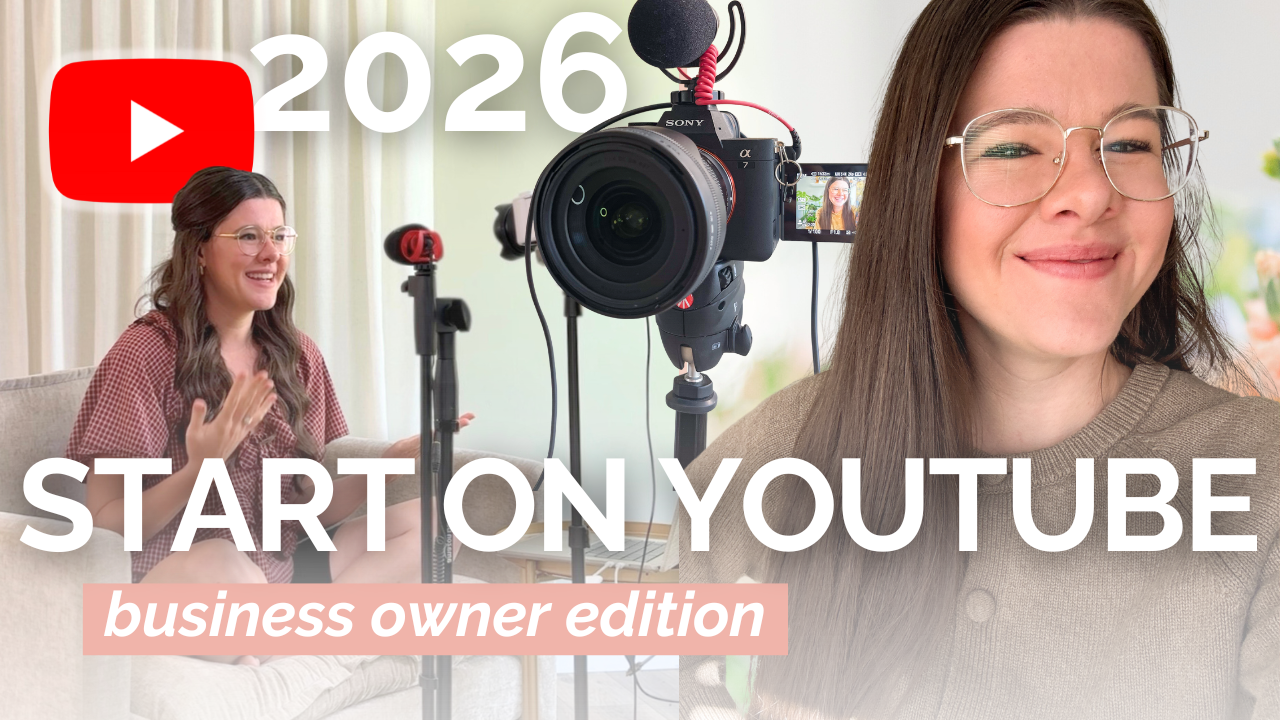
This week, I wanted to share my 4K YouTube filming setup because this is something I’ve gotten a ton of questions about. Last year, I shared my older filming setup, which is great if you’re just getting started with a channel. I do still use it for vlogging and 100% recommend it if you’re starting out. My current setup is better if you’re ready to upgrade your gear and ready to transition to more video content in your business. As my business transitioned away from photography, upgrading felt like the right thing to do. My video quality has improved and it’s been an awesome decision all around. Today, I’m going to show you EXACTLY what I use: cameras, gears, mics, and accessories. At the end of the post, there’s a list of each piece of gear so let’s break down this setup!
CAMERA
I love my old filming setup and it was a great way to start, but there was way less flexibility. I purchased the Sony A7IV, which is a brand new mirrorless camera they’ve just released for about $2500. This camera has such a better filming quality and I can record my videos in 4K, which was super appealing to me. I’m in the process of getting all my gear over to Sony because I love it so much. The focal length is about the same as my old camera (Canon M50), but the quality is way better!
Some of the other reasons I love this camera is because it’s a super lightweight, full-frame mirrorless camera. As someone who creates a lot of content, I knew I needed a few features like the flip out screen, which is AMAZING. The Sony A7IV has two SD card slots and unlimited recording limits, too. The two slots allow me to feel confident I won’t lose anything if a card fails – what a relief.
TRIPOD
It’s funny because I really didn’t think I would be this excited about a tripod or that it would make a huge difference… but I love my new Manfrotto Tripod. I got my tripod for $70! I’m not exaggerating when I say this tripod changed my life. It connects to your camera but it’s a much smaller connection point so that it’s easier to remove your camera, battery, and card when you’re filming. It saves so much time – and that time adds up!!
LENS
I use the Sigma 16mm 1.4 lens to film with. It was on sale for about $400, but is usually $600. I wanted a lens that was going to be wide enough and similar to my previous videos. Personally, I also knew I wanted a prime lens because it would allow me to have blurred backgrounds when I film. I set my lens at about 2.0 when I film. This lens is wide enough that I can sit close enough to get audio without a massive mic setup, which was important to me!
MIC
Now, let’s talk mics. My mic situation hasn’t changed because I still love them both. I have the Rode Video Mic Pro ($300), which I use for my primary filming. It plugs right into your camera and helps your audio sounds great. I also own the Rode Video Micro. The Micro is still a great option and more affordable at $55. I also use it for my vlogging.
LIGHTING
My lighting situation has changed with my new gear upgrade. I really, really love this setup. If you’re willing to make an upgrade or go with a setup that’s just a little bit more than my first recommendation, this is what I recommend. For $130, I currently use the Neweer YouTube lighting setup. It’s WAY bigger than my old LimoStudio lighting setup. On the back, it’s super easy to adjust the brightness and white balance (Kelvin) settings. I think it mimics a window better, which helps keep your light even.
ACCESSORIES
The last thing I have that’s super important are backup Sony A7IV backup batteries ($80). If you are filming videos or long-form content with a camera, make sure you always have extra batteries on hand. Make sure you get batteries that go with your camera – these ones are the batteries that go with my exact camera.
I hope this gear breakdown helps you decide when you’re ready to upgrade your gear for YouTube. Remember, I chose to use this setup because SO much of my brand is relying on video content. I don’t believe that you need fancy setups to get started on YouTube – so start with what makes the most sense for you and your brand – and where you are right now financially. Start where you are, knowing as you grow, your gear can too!
If you’re looking for more tips on YouTube, see them HERE. And all links mentioned are also below for easy shopping!
My Exact Gear List for YouTube:
Sony A7IV (current filming camera for sit down videos with 4K)
Sigma 16mm 1.4 lens (lens I use to film sit down YouTube videos)
Rode Video Micro (vlogging mic)
Rode Video Mic Pro + (current filming mic)
My current Neweer YouTube lighting setup
LimoStudio lighting for filming YouTube videos (my old setup)


